If you’re planning a media wall, the difference between “looks great” and “works brilliantly” comes down to the prep. This step-by-step guide walks you through media wall ideas, measurements, TV sizing, storage planning, sockets and cable routes - with a simple checklist you can copy. For a broader overview covering costs, design ideas and future trends, see our complete media wall guide
- Planning checklist
- TV sizing & layout
- Cable routing
- Made-to-measure UK
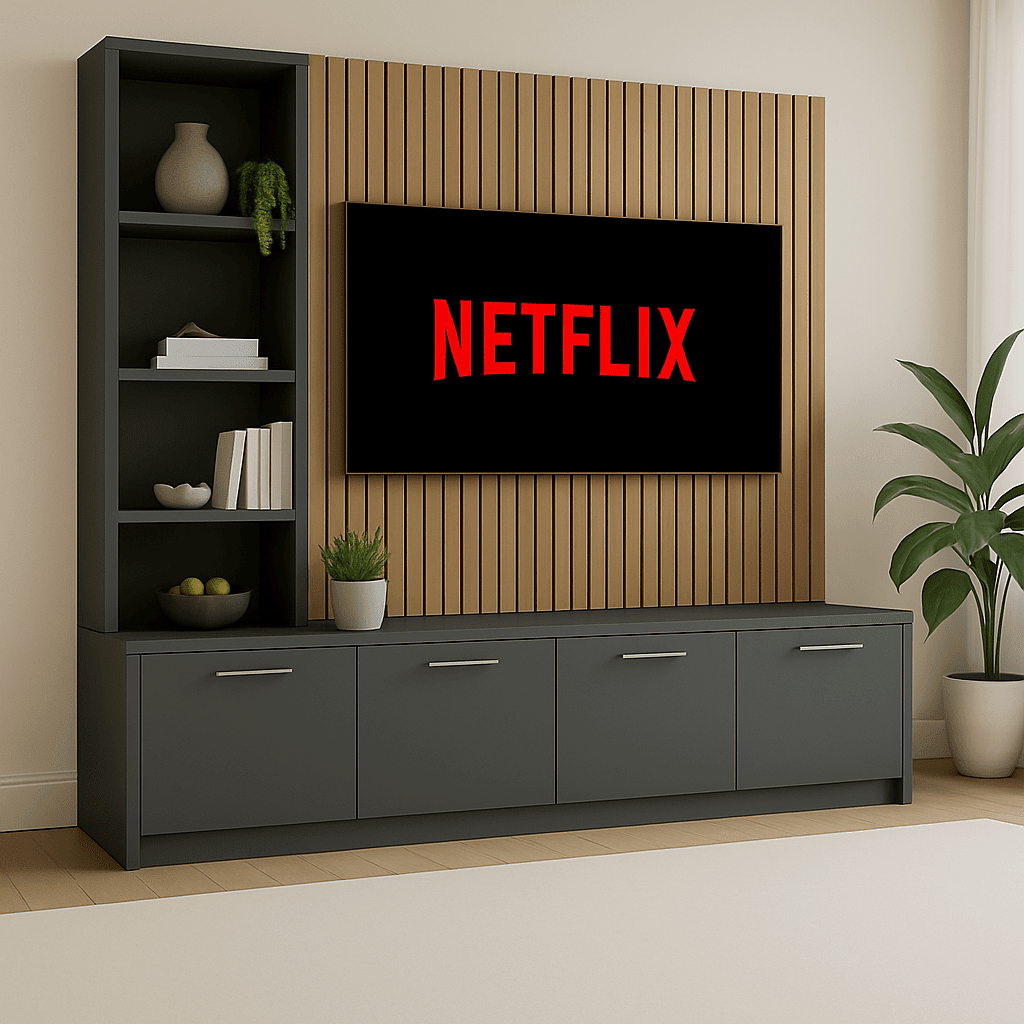
Looking for a made-to-measure media wall?
Explore our media wall entertainment units - made to order in the UK and backed by a 15-year guarantee.
Before you start: the 3 decisions that make everything easier
- Where you’ll sit most often (this affects TV height and viewing comfort).
- What needs to be stored (devices, games, books, documents, décor).
- How you want the wall to feel (clean and minimal vs. more display shelving).
“The easiest media walls to live with are the ones planned around real routines: where you sit, what you use daily, and what you want to keep out of sight.”
Step-by-step: how to plan a media wall (properly)
-
Step 1: Measure your wall (and note the awkward bits)
Measure the full width and height, then record anything that impacts the layout: skirting boards, coving, sockets, radiators, doors and windows.
-
Step 2: Decide your TV position (height and viewing distance)
Mark the TV’s rough position with painter’s tape. Aim for a comfortable viewing height based on your sofa and how you naturally sit.
-
Step 3: Plan “device homes” (so cables don’t take over)
List every device you’ll use. Decide where each item will live and ensure you can still reach power, ports and remotes.
-
Step 4: Allow ventilation for anything that runs hot
Consoles and set-top boxes need airflow. If you’re housing devices inside cabinets, plan ventilation so the setup stays reliable.
-
Step 5: Future-proof for upgrades
TVs rarely get smaller. Build in breathing room around your current screen and plan cable routes so you can upgrade later.
-
Step 6: Choose the storage balance (open vs closed)
Closed cabinets keep things looking calm. Open shelves are great for décor. The best layouts usually use a mix of both.
Copy-and-use media wall planning checklist
Tip: Copy this into Notes, Google Docs or email it to yourself.
Room + wall
- Wall width: ____ mm / cm
- Wall height: ____ mm / cm
- Skirting/coving details noted
- Sockets location marked
- Obstructions (radiator/door/window) noted
TV + devices
- TV size (inches): ____
- Future upgrade allowance planned
- Devices list (console/box/soundbar/router): ____
- Ventilation considered for hot devices
Storage + finish
- Closed storage needed for clutter
- Open shelving needed for display
- Finish preference: ____
- Lighting wanted (yes/no): ____
Common planning mistakes (and how to avoid them)
- Building tight to the TV - leave room for airflow and future upgrades.
- Forgetting device access - you still need to reach plugs, ports and remotes.
- Underestimating storage - plan for what you actually use daily.
- Ignoring sockets - cable routes are easiest to solve at the planning stage.
Design a bespoke media wall
Explore our made-to-measure units—manufactured in the UK and backed by a 15-year guarantee.
Planning FAQs
What is the best height for a TV on a media wall?
Place the centre of the screen roughly at seated eye level. measure from where you actually sit before fixing the position.
How much space should I leave around a TV on a media wall?
Leave clearance for airflow, cabling and future upgrades rather than building tightly around your current TV dimensions.
Do media walls need ventilation?
Yes — especially for consoles or AV receivers inside cabinets to prevent heat build-up.
Next in the series: a UK cost breakdown (what affects price, what to prioritise, and how to budget sensibly).
Share:
The Complete Guide to Media Walls in the UK: Planning, Cost, Design & 2026 Trends
How Much Does a Media Wall Cost in 2026? Budget, Pricing & Value Guide